Overview
Bloodhound is a tool used for finding relationships and patterns within data from an Active Directory environment. It is run on the attacker’s machine and accessed through a web interface. Bloodhound operates on data and this data comes from a collector which is executed on the target machine.
Setup
- Install Bloodhound
sudo apt install bloodhound- Configure neo4j - Bloodhound relies on a different tool called neo4j. It is best to change its default credentials.
- run neo4j -
sudo neo4j console - open the link it gives you and use the credentials neo4j:neo4j to login
- change the password
- run neo4j -
Collecting Data for Bloodhound
Data is obtained through a collector. There are different ones available. You can get SharpHound from the Bloodhound GitHub repo - https://github.com/BloodHoundAD/BloodHound/blob/master/Collectors/SharpHound.ps1.
Start neo4j and bloodhound:
sudo neo4j consolesudo bloodhoundRun the collector on the target machine:
powershell -ep bypass. .\SharpHound.ps1Invoke-BloodHound -CollectionMethod All -Domain <domain> -ZipFileName <output file>
Now, move the files to the attacker machine.
Viewing the Data
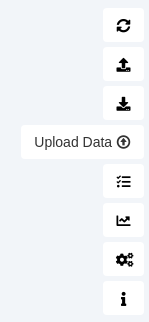
In Bloodhound, on the right you should see a button for Upload Data. Select the previously obtained zip file and wait for Bloodhound to process it.
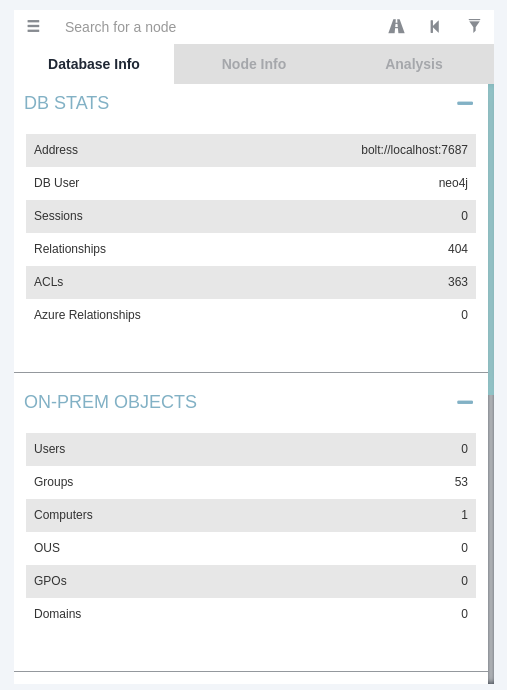
In the top left, click on the three dashes and you should see a summary of the data imported:
Finding Relationships in the Data
Through the analysis tab, you can see a bunch of pre-made queries. Their names are usually self-describing. Clicking on any of them will generate a particular graph expressing a specific relationship within the AD environment:
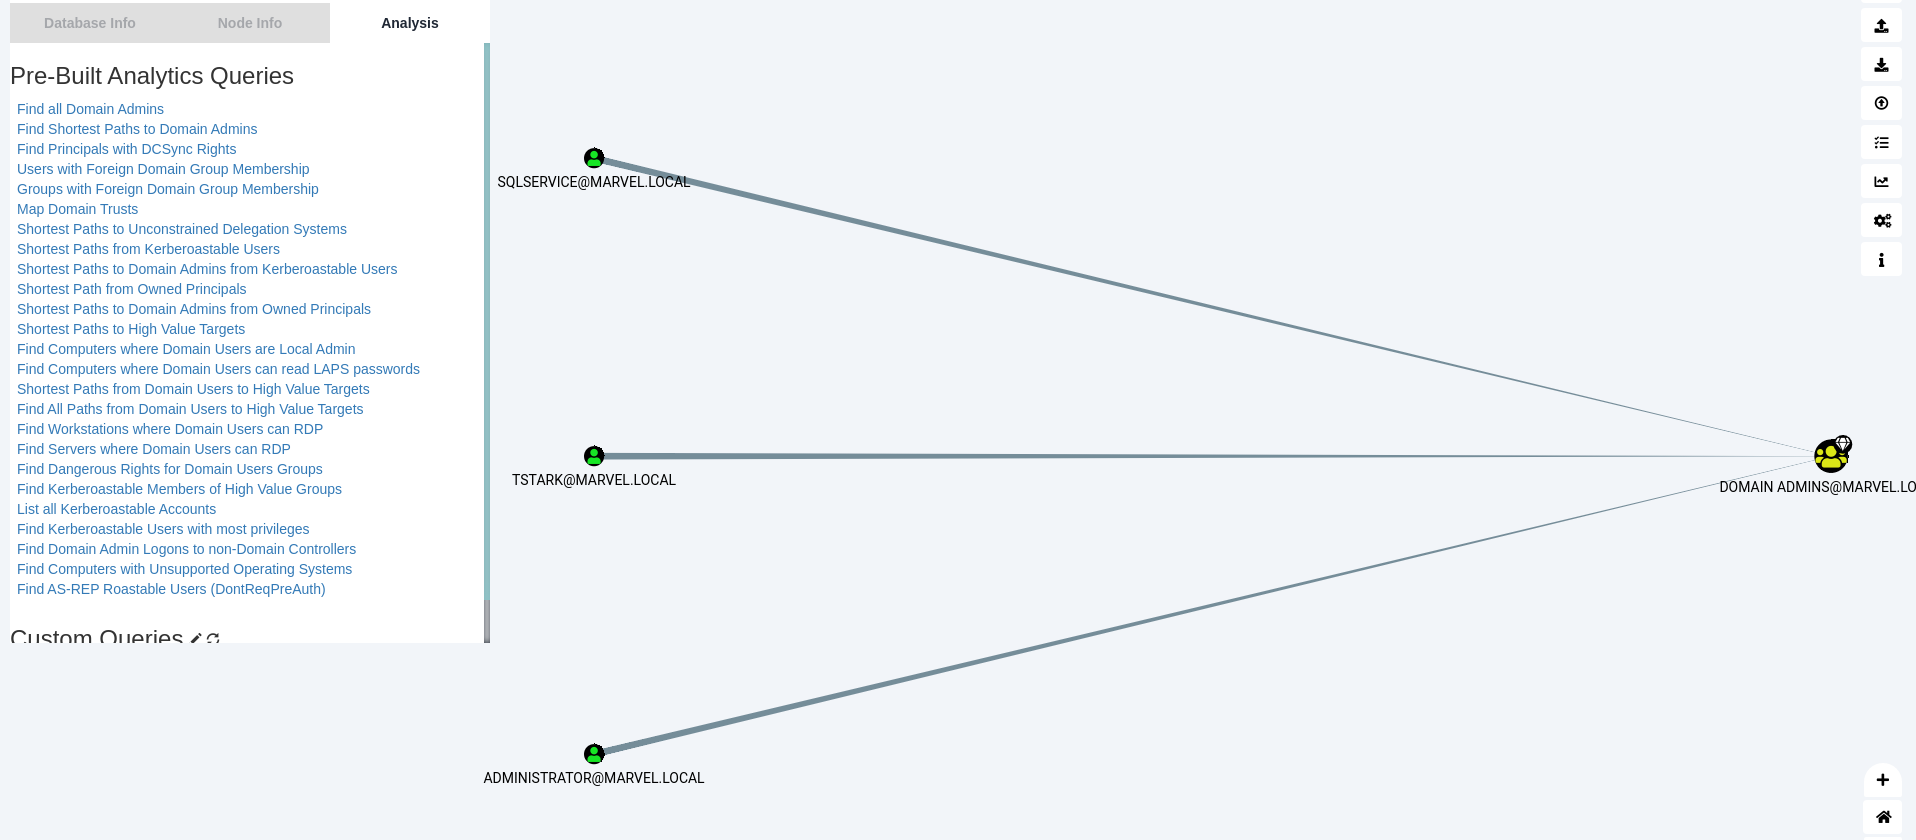
You are also able to create custom queries.